Introduction to Dehydrated Food
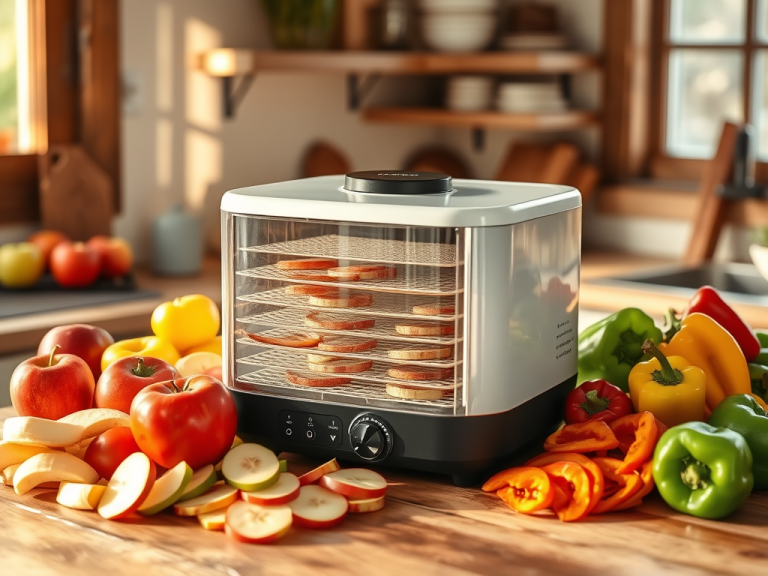
Dehydration is an ancient and effective method for preserving food. By removing moisture, you inhibit the growth of bacteria, yeast, and mold. This extends the shelf life of fruits, vegetables, meats, and more, allowing you to enjoy your harvest for months or even years. In this article, we’ll explore the benefits of homemade dehydrated food, the equipment needed, and provide tips and recipes to get you started.
The Advantages of Dehydrating Food
Choosing to dehydrate your food has several benefits. Firstly, it’s an eco-friendly preservation method, requiring minimal energy and resources. Dehydrated foods are lightweight and compact, making them perfect for camping trips, hiking, or emergency preparedness kits. Furthermore, you retain most of the food’s nutritional value during the dehydration process, and the intense flavors and natural sweetness that emerge can make healthy snacks even more enjoyable.
Dehydration Equipment: Options and Considerations
To begin dehydrating food at home, you will need some essential equipment. Here are the primary options:
- Electric Food Dehydrator
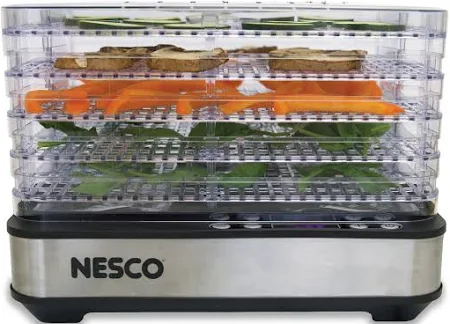
An electric food dehydrator is the most popular and convenient option for home use. These devices come with multiple trays, allowing you to dehydrate different food items simultaneously. With adjustable temperature settings and built-in timers, electric dehydrators offer greater control and consistent results.
- Solar Dehydrator
A solar dehydrator harnesses the sun’s energy to dry your food, making it an eco-friendly choice. While they might require more time and favorable weather conditions, they can be cost-effective in the long run. You can purchase a solar dehydrator or build one using readily available materials.
- Oven Dehydration
For those who don’t wish to invest in specialized equipment, oven dehydration is an option. Set your oven at the lowest possible temperature, typically around 140°F (60°C), and place the food items on wire racks for even airflow. Keep the oven door slightly open to allow moisture to escape. This method may require more energy and monitoring compared to a dedicated dehydrator.
Preparing Food for Dehydration
Before you begin dehydrating, prepare your food by washing, peeling, and cutting it into evenly sized pieces. This ensures consistent drying times and results. Some foods may require blanching or pre-treatment with lemon juice or ascorbic acid to prevent browning and retain color. When arranging the food on dehydrator trays, leave space between pieces for proper air circulation.
Dehydrating Fruits and Vegetables
Fruits like apples, bananas, and berries are popular choices for dehydration. Dry them until they become pliable or slightly crisp, depending on your preference. For vegetables such as carrots, peas, and peppers, dry them until they become brittle. When properly stored in airtight containers, dehydrated fruits and vegetables can last up to a year or more.
Dehydrating Meats: Creating Homemade Jerky
Meat can also be dehydrated to make jerky, a high-protein, low-fat snack. Choose lean cuts of meat, like beef, turkey, or venison, and trim off any visible fat. Slice the meat thinly, and marinate it in your choice of flavors before dehydrating. Meat should be dried at higher temperatures (around 160°F or 71°C) to ensure food safety.
Dehydrating Herbs and Making Fruit Leathers
Herbs like basil, oregano, and rosemary can be easily dehydrated to extend their shelf life and intensify their flavors. Dry them until they are crisp and store them in airtight containers away from sunlight.
Fruit leathers are another tasty option made by pureeing fruit and spreading it thinly on a dehydrator tray or silicone mat. Dehydrate until the leather is pliable and no longer sticky.
Rehydrating Your Dehydrated Food
To rehydrate your food, simply soak it in water, juice, or broth until it reaches the desired consistency. Rehydrated fruits can be enjoyed as a snack or added to baked goods and yogurt, while vegetables and meats can be used in soups, stews, and stir-fries.
Dehydration Tips and Tricks for Success
- Choose High-Quality Produce
For the best results, use fresh, ripe, and high-quality produce. Avoid using overripe or damaged fruits and vegetables, as they can affect the taste and texture of your dehydrated food.
- Consistent Slicing
Slice your food items uniformly to ensure even drying times. A mandoline slicer can be a helpful tool for achieving consistent thickness.
- Rotate Trays
To achieve uniform drying, rotate the trays in your dehydrator periodically. This promotes even airflow and reduces the risk of over-drying certain areas.
- Testing Dehydration Level
Knowing when your food is adequately dehydrated can be a bit of trial and error. Generally, fruits should be pliable and leathery, vegetables should be brittle, and meat should be firm and dry to the touch. As you gain experience, you will learn to recognize when your food is done.
- Proper Storage
Store your dehydrated food in airtight containers, like glass jars or vacuum-sealed bags. Keep them in a cool, dark, and dry place to maximize shelf life. Remember to label your containers with the contents and the date of dehydration.
Dehydrated Food Recipes and Ideas
- Spiced Apple Chips
Slice apples thinly and toss them in a mixture of cinnamon and sugar. Dehydrate until crisp for a delicious and healthy snack.
- Vegetable Chips
Thinly slice vegetables like sweet potatoes, beets, and zucchini. Lightly season with salt and herbs, then dehydrate until crispy.
- Homemade Trail Mix
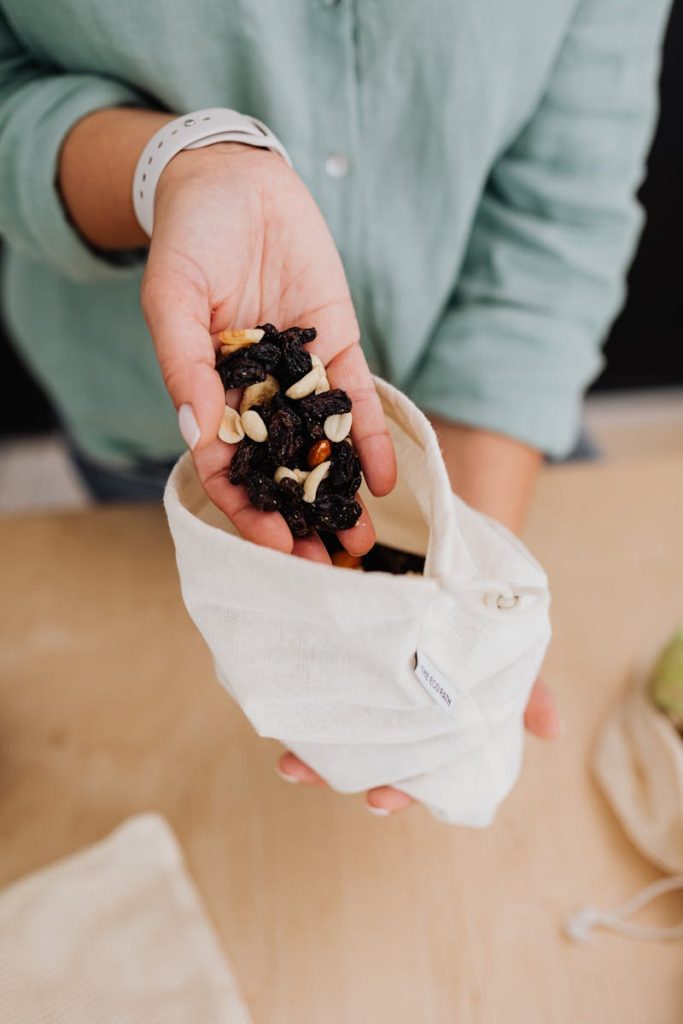
Combine dehydrated fruits, nuts, and seeds for a nutritious and energy-packed snack. Try combinations like banana chips, almonds, and coconut flakes or dried cranberries, walnuts, and pumpkin seeds.
- Camping Meals
Dehydrated food is perfect for creating lightweight, nutritious, and easy-to-prepare camping meals. Combine dehydrated vegetables, grains, and spices in individual portions, then rehydrate with hot water when you’re ready to eat.
- Soup Mixes
Create your own dehydrated soup mixes by combining dried vegetables, beans, and seasonings. Store in airtight containers and rehydrate with water or broth for a quick and convenient meal.
- Dehydrated Salsa
Dehydrate tomatoes, onions, peppers, and garlic, then grind them into a powder. Rehydrate with water for a homemade salsa that’s ready in minutes.
By experimenting with different food items and recipes, you can enjoy a wide variety of homemade dehydrated foods that cater to your taste preferences and dietary needs.
In Conclusion
In summary, homemade dehydrated food is an excellent way to preserve your harvest, create lightweight and nutritious snacks, and reduce food waste. By investing in the right equipment and mastering the techniques, you can enjoy the benefits of dehydration all year round.
© 2025 by Homemade.us, All rights reserved. No part of this document may be reproduced or transmitted in any form or by any means, electronic, mechanical, photocopying, recording, or otherwise, without prior written permission.

Author: Editor
Make it the best! That is Homemade!
Leave a Reply